
Canon MX492 Owners Manual: A Comprehensive Guide
Welcome! This manual serves as your detailed guide to the Canon MX492, offering comprehensive instructions for setup, operation, and troubleshooting.
It’s designed to maximize your printing experience, ensuring optimal performance and longevity of your device.
The Canon MX492 is a versatile all-in-one inkjet printer designed for home and small office use. It combines printing, scanning, copying, and faxing capabilities into a single, compact device. This manual is crafted to guide you through every aspect of utilizing your new Canon MX492, from initial setup to advanced features.
We understand that setting up and learning a new printer can sometimes be daunting. Therefore, this guide provides clear, step-by-step instructions, accompanied by helpful visuals, to ensure a smooth and hassle-free experience. Whether you’re a first-time printer user or an experienced professional, you’ll find valuable information within these pages.
This manual will cover essential topics such as connecting to your computer, loading paper, installing ink cartridges, and performing basic printing tasks. Furthermore, we’ll delve into more advanced functionalities like wireless connectivity, mobile printing with the Canon PRINT app, and troubleshooting common issues. Our goal is to empower you to fully leverage the capabilities of your Canon MX492.

Unboxing and Initial Setup
Carefully unpack your Canon MX492 from its box, ensuring all packing materials are removed. Verify that all included components are present: the printer itself, power cord, print head, ink cartridges (typically a standard set of black and color), setup CD-ROM, and important documentation including safety instructions and warranty information.
Connect the power cord to the printer and a grounded electrical outlet. Do not turn the printer on yet. Next, install the print head according to the instructions in the setup guide – this is a crucial step for proper printing functionality. Then, install the initial ink cartridges. The printer will guide you through this process, prompting you to remove the seals and properly seat each cartridge.
Insert the provided CD-ROM into your computer to begin the software installation. Follow the on-screen prompts to install the necessary drivers and utilities. Alternatively, you can download the latest drivers from the Canon website. Once the software is installed, the setup program will guide you through connecting the printer to your computer via USB or Wi-Fi.
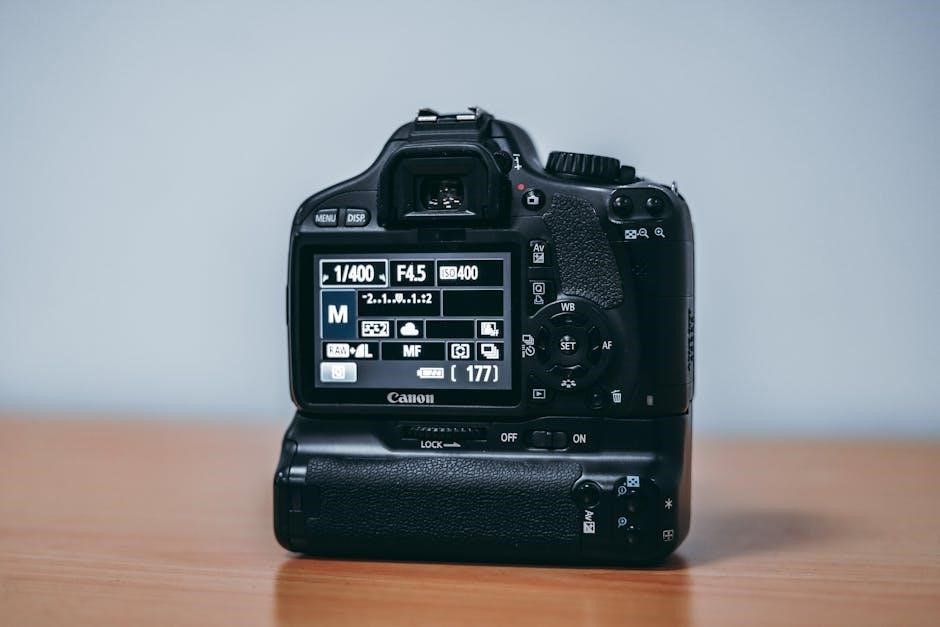
Understanding the Control Panel
The Canon MX492 features a user-friendly control panel designed for intuitive operation. The LCD screen displays printer status, settings, and options. Navigation is primarily achieved through the directional buttons (up, down, left, right) surrounding the OK/Color button. This central button confirms selections and initiates actions.
The Stop/Reset button serves multiple functions: halting printing operations, canceling jobs, and resetting errors. Dedicated buttons for Black and Color printing allow for quick selection of print modes. The Copy button directly initiates the copying process, while the Scan button launches the scanning utility.
Accessing the Menu button reveals a comprehensive range of settings, including paper size, print quality, network configuration, and maintenance options. Familiarize yourself with the menu structure to customize the printer to your specific needs. The control panel’s layout is designed for efficient access to frequently used functions, streamlining your printing workflow.
Paper Handling: Loading and Types
The Canon MX492 supports a variety of paper types and sizes, offering versatility for diverse printing needs. The rear paper tray accommodates standard letter and legal-size paper, while the automatic document feeder (ADF) is ideal for multi-page documents. Ensure paper is loaded correctly, avoiding overfilling to prevent jams.

Supported paper weights range from standard copy paper to heavier photo paper. The MX492 handles plain paper, glossy photo paper, matte photo paper, and envelope types. For optimal results, select the appropriate paper type in the printer settings. Always fan the paper stack before loading to prevent sticking.
To load paper, adjust the paper guides to fit the width of the paper. The MX492 automatically detects the paper size in most cases, but manual selection may be necessary for non-standard sizes. Proper paper handling is crucial for preventing jams and ensuring high-quality print output. Refer to the detailed paper specifications chart in the appendix for a complete list of compatible paper types and weights.
Ink Cartridge Installation and Replacement
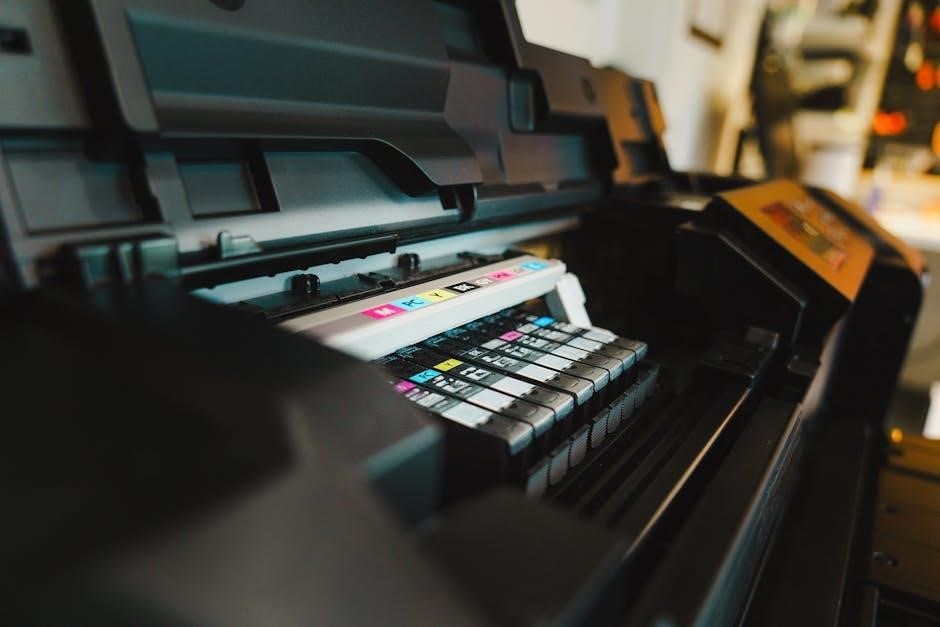
The Canon MX492 utilizes a two-cartridge system – one black and one color. Installing or replacing ink cartridges is a straightforward process. First, ensure the printer is powered on but not currently printing. Open the printer cover to access the cartridge holder. The cartridge holder will move to the center for easy access.
Gently remove the old cartridge by pressing down on it to release it, then pulling it out. Unwrap the new cartridge, removing the protective tape and orange cap. Insert the new cartridge into the correct slot, matching the color. Push it in firmly until it clicks into place. The cartridge holder will then return to its original position.
Important: Only use Canon-genuine ink cartridges to ensure optimal print quality and prevent damage to the printer. The printer will display a warning message when ink levels are low. Avoid touching the ink nozzles or electrical contacts. Properly dispose of used cartridges according to local regulations.
Basic Printing Operations
Initiating a print with your Canon MX492 is simple. First, ensure the printer is powered on and connected to your computer or mobile device. Open the document or image you wish to print from your application. Select “Print” from the File menu, or use the keyboard shortcut (Ctrl+P or Cmd+P).
The Canon MX492 print dialog box will appear. Here, you can adjust settings like paper size, print quality (standard, high), and the number of copies. Choose your desired settings and click “Print”. The printer will automatically pull paper and begin printing.
For basic document printing, the default settings usually suffice. For photos, select “High” print quality and appropriate paper type (photo paper). You can also preview the print before sending it to the printer. Remember to load the correct paper type into the paper tray before printing. Regularly check the printer queue to manage print jobs.
Scanning Basics: Using the Flatbed and ADF
The Canon MX492 offers versatile scanning capabilities using both a flatbed scanner and an Automatic Document Feeder (ADF). The flatbed scanner is ideal for scanning single sheets, books, or delicate items. Place the item face down on the glass, ensuring it’s aligned correctly.
To scan using the flatbed, open the Canon IJ Scan Utility software on your computer; Select the appropriate scan settings – document type, resolution (300dpi is standard for documents, 600dpi for photos), color mode, and file format (PDF, JPEG). Click “Scan” to begin.
The ADF is perfect for scanning multi-page documents quickly. Load the documents face up into the ADF tray. In the scan utility, select “ADF” as the source. Configure settings as needed, and choose options like “Duplex Scan” to scan both sides automatically. The MX492 will automatically feed and scan each page.
Copying Documents and Images
The Canon MX492 simplifies document and image copying directly from the printer. To initiate a copy, place the original document on the flatbed scanner or load multiple pages into the Automatic Document Feeder (ADF). Press the Copy button on the control panel – a single press initiates a single copy, while repeatedly pressing adjusts the number of copies.
Utilize the control panel buttons to adjust copy settings. You can select the copy size, paper type, and copy quality (standard or high). The Reduce/Enlarge function allows you to scale the copied image to fit your needs. For multi-page copies using the ADF, ensure the document is properly aligned in the tray.
The MX492 offers both black and color copying. Before starting, verify the ink levels to ensure optimal copy quality. The printer will automatically scan, process, and print the copies. The copied documents will be outputted to the paper tray.
Wireless Setup and Connectivity
The Canon MX492 offers versatile wireless connectivity, enabling printing from various devices without a direct cable connection. To begin, ensure your wireless router is active and broadcasting a signal. On the printer’s control panel, navigate to the Setup menu, then select Wireless LAN Setup. The printer will search for available networks.
Choose your network from the list and enter your network password using the control panel buttons. Once connected, a wireless icon will appear on the printer’s display. You can also utilize WPS (Wi-Fi Protected Setup) if your router supports it, simplifying the connection process with a button press on both devices.
After successful connection, the MX492 will obtain an IP address. This address can be found in the network settings menu and is crucial for direct printer access. Ensure your computer or mobile device is connected to the same wireless network for seamless printing and scanning.
Mobile Printing Options (Canon PRINT App)
The Canon PRINT app unlocks a world of mobile printing and scanning possibilities for your MX492. Available for free on both iOS and Android devices, this application simplifies document handling from your smartphone or tablet. Download and install the app from your respective app store, then ensure your printer and mobile device are connected to the same Wi-Fi network.
The app automatically detects compatible Canon printers on your network. Once detected, you can easily print documents, photos, and web pages directly from your device’s storage or cloud services like Google Drive and Dropbox. Beyond printing, the Canon PRINT app facilitates scanning documents using your MX492’s flatbed or ADF, saving them directly to your mobile device or cloud storage.
Explore features like photo printing with layout options and quick access to printer settings. The app also provides printer status monitoring, ink level checks, and troubleshooting assistance, enhancing your overall printing experience.
Troubleshooting Common Printing Issues
Encountering printing problems? This section addresses frequent issues with your Canon MX492. First, verify the printer is powered on and connected to your computer or network. If printing fails, check for error messages on the printer’s display panel and consult the manual for specific codes. Paper jams are common; carefully remove any obstructions following the illustrated guides within this manual.
Poor print quality often stems from low ink levels or clogged print heads. Run the print head cleaning utility accessible through the printer’s settings on your computer. For faded prints, ensure you’ve selected the correct paper type in your print settings. If documents print with missing lines or colors, inspect the ink cartridges and replace any that are depleted or damaged.
Connectivity issues can be resolved by restarting your printer and router. Ensure the correct printer driver is installed on your computer and updated to the latest version. If problems persist, consult the Canon support website for further assistance and downloadable resources.

Troubleshooting Scanning and Copying Problems
If your Canon MX492 isn’t scanning or copying correctly, several factors could be at play. First, ensure the document is placed correctly on the flatbed scanner or within the Automatic Document Feeder (ADF). Check for any obstructions that might prevent the scanner lid from closing fully. If scans appear distorted, clean the scanner glass with a lint-free cloth.
For ADF issues, verify the paper isn’t skewed or wrinkled, and that the ADF capacity isn’t exceeded. If copies are coming out faded or with streaks, examine the scanner lamp and cleaning procedures detailed in the maintenance section of this manual. Error messages on the display panel provide valuable clues; refer to the error code index for specific solutions.

Connectivity problems can also affect scanning and copying, particularly when using a computer. Ensure the correct drivers are installed and updated. If issues persist, try restarting both the printer and your computer. Canon’s support website offers detailed troubleshooting guides and FAQs.
Maintenance and Cleaning Procedures
Regular maintenance is crucial for optimal Canon MX492 performance. Begin by cleaning the exterior with a soft, damp cloth – avoid harsh chemicals. The print head requires periodic cleaning to prevent clogged nozzles; utilize the printer’s built-in cleaning function accessible through the control panel. Run this function when print quality deteriorates or after prolonged inactivity.

The scanner glass should be cleaned regularly with a lint-free cloth and glass cleaner to remove dust and fingerprints, ensuring clear scans. For the Automatic Document Feeder (ADF), gently wipe the rollers with a dry cloth to remove paper debris. Avoid using abrasive materials that could damage the rollers.
Canon recommends performing a deep cleaning cycle every few months, depending on usage. Always refer to the manual for specific instructions and safety precautions. Proper maintenance extends the life of your MX492 and maintains consistent print and scan quality.
Advanced Features: Duplex Printing & Borderless Printing
The Canon MX492 offers advanced features to enhance your printing experience. Duplex printing, or automatic two-sided printing, significantly reduces paper consumption and is easily enabled through the printer driver settings on your computer. Select the “Two-Sided Printing” option and configure your desired layout – long-edge or short-edge binding.
Borderless printing allows you to create photos and documents that extend to the very edge of the paper, providing a professional finish. This feature is available for specific paper types and sizes; ensure you select a compatible option within the printer settings. Adjust the margins to “Borderless” to activate this functionality.
Experiment with different paper types to achieve optimal results with both duplex and borderless printing. Refer to the Canon MX492 manual for a complete list of supported paper specifications and detailed instructions on utilizing these advanced features effectively.
Canon MX492 Specifications and Support Resources
The Canon MX492 boasts key specifications including a maximum print resolution of 4800 x 1200 dpi, printing speeds of up to 8.8 images per minute (ipm) for black and white and 5.0 ipm for color. It supports various paper sizes, including standard letter and legal sizes, along with photo paper options. Connectivity options include USB, Wi-Fi, and Mobile Printing.
For comprehensive support, Canon provides a wealth of resources. Visit the official Canon website at canon.com/support to access downloadable drivers, software updates, and frequently asked questions (FAQs). You can also find detailed troubleshooting guides and video tutorials to assist with any issues you may encounter.
Canon’s online support portal offers live chat and phone support options for personalized assistance. Additionally, the Canon MX492 owners manual, available both online and in print, provides a complete reference guide to all features and functions. Ensure you regularly check for software updates to maintain optimal performance.