
The Jeep Wrangler instruction manual offers concise guidance on operating the iconic off‑road vehicle. It covers Sunrider removable softtop‚ three‑piece Freedom hardtop‚ and the new power‑sliding top‚ detailing installation‚ maintenance‚ and safety checks for each roof type. It also details the 4‑wheel‑drive system‚troubleshooting‚ emergency steps.!
Manual Purpose
This manual is designed to provide Jeep Wrangler owners‚ technicians‚ and enthusiasts with a comprehensive‚ user‑friendly guide to operating‚ maintaining‚ and troubleshooting the vehicle; It consolidates essential information from the manufacturer’s technical specifications‚ safety guidelines‚ and practical field experience into a single‚ accessible reference. The primary goal is to empower the reader to confidently manage the Wrangler’s unique features—such as its removable Sunrider softtop‚ three‑piece Freedom hardtop‚ and the newly introduced power‑sliding roof—while ensuring compliance with all regulatory and safety requirements. By offering step‑by‑step instructions‚ clear diagrams‚ and troubleshooting tips‚ the manual supports routine tasks from daily inspections to more complex repairs. It also serves as a valuable resource for new owners acclimating to the Wrangler’s distinctive off‑road capabilities and for seasoned drivers seeking to optimize performance and longevity. The content is organized into logical sections that mirror the vehicle’s major systems‚ allowing users to quickly locate the information they need. Each section begins with an overview‚ followed by detailed procedures‚ and concludes with safety reminders and maintenance recommendations. The manual’s structure reflects the vehicle’s modular design‚ ensuring that users can focus on specific components—such as the roof system‚ drivetrain‚ or electrical architecture—without navigating unrelated sections. Additionally‚ the guide incorporates best‑practice tips for preserving the Wrangler’s aesthetic appeal‚ protecting interior materials‚ and extending component life. By integrating manufacturer data with real‑world usage scenarios‚ the manual bridges the gap between theory and practice‚ making it an indispensable tool for anyone who owns or works on a Jeep Wrangler. Its clear‚ concise language and thorough coverage help prevent common mistakes‚ reduce downtime‚ and ultimately enhance the driving experience across a variety of terrains and conditions. This manual is intended for use by owners‚ mechanics‚ and service technicians‚ and it should be consulted whenever changes are made to the vehicle or when troubleshooting issues that arise during operation. The information presented here is based on the latest model year specifications and is subject to updates as new revisions become available. By following the guidance in this manual‚ users can maintain the Wrangler’s performance‚ safety‚ and reliability for years to come. Lorem ipsum dolor sit amet‚ consectetur adipiscing elit. Lorem ipsum dolor sit amet‚ consectetur adipiscing elit. Lorem ipsum dolor sit amet‚ consectetur adipiscing elit. Lorem ipsum dolor sit amet‚ consectetur adipiscing elit. Lorem ipsum dolor sit amet‚ consectetur adipiscing elit. Lorem ipsum dolor sit amet‚ consectetur adipiscing elit. Lorem ipsum dolor sit amet‚ consectetur adipiscing elit. Lorem ipsum dolor sit amet‚ consectetur adipiscing elit. Lorem ipsum dolor sit amet‚ consectetur adipiscing elit. Lorem ipsum dolor sit amet‚ consectetur adipiscing elit. Lorem ipsum dolor. Test
Safety Information
This section outlines essential safety precautions Jeep Wrangler. Always wear seat belts‚ avoid roof modifications that compromise structural integrity‚ andfollow manufacturer guidelines for the roof removal and installation. Always Keep the vehicle’s weight distribution within limits‚ to prevent rollover hazards. Consult the manual for details.
Warning Symbols
Jeep Wrangler manuals use a set of standardized warning symbols to alert owners to potential hazards and critical safety information. These icons appear throughout the vehicle’s interior and exterior‚ on the dashboard‚ and in the owner’s guide; Understanding each symbol ensures proper maintenance and safe operation.
- ⚠️ General Warning – indicates a potential danger that may cause injury or damage if not addressed. Example: “Do not exceed the maximum load capacity of the vehicle.”
- 🚫 Prohibited Action – used to show actions that are forbidden‚ such as “Do not remove the roof panels while the vehicle is in motion.”
- ⚡ Electrical Hazard – warns of high voltage or electrical components that can cause shock. Example: “Keep hands and tools away from exposed wiring.”
- 🔥 Fire Hazard – indicates flammable materials or high temperatures. Example: “Do not use the vehicle’s engine compartment for cooking.”
- ❗ Immediate Action Required – signals an urgent issue that must be addressed before continuing. Example: “Check tire pressure before driving.”
- 🛠️ Maintenance Required – reminds owners of routine checks‚ such as oil changes or brake inspections.
- 🛑 Stop – used to denote a stop sign or a requirement to halt the vehicle‚ such as “Stop the vehicle before performing roof removal.”
- 🧯 Fire Extinguisher – indicates the location of the fire extinguisher and its use instructions.
- 🧪 Chemical Hazard – warns of hazardous chemicals‚ like brake fluid or antifreeze‚ and advises proper handling.
- 📛 Warning – a general caution symbol that may appear next to a text warning‚ such as “Caution: Sharp edges on roof panels.”
Each symbol is accompanied by a brief description and‚ when applicable‚ a recommended action. The manual also provides a legend section that explains the color coding (red for danger‚ yellow for caution‚ green for informational). By familiarizing yourself with these icons‚ you can quickly identify potential risks and take appropriate measures to keep yourself and your Jeep Wrangler safe.
For new owners‚ the manual’s warning symbol guide is a reference that can be consulted at a glance. It includes color codes‚ icon descriptions‚ and recommended actions. By keeping this section‚ drivers can respond to any alert‚ ensuring safety and vehicle integrity during adventure.
Owners should also consult the service manual for roof removal and reinstallation procedures. Use warning symbols during tasks prevents damage keeps Wrangler in condition. daily
Owners should also consult the service manual for roof removal and reinstallation procedures. Use warning symbols during tasks prevents damage keeps Wrangler in condition. daily
Vehicle Overview
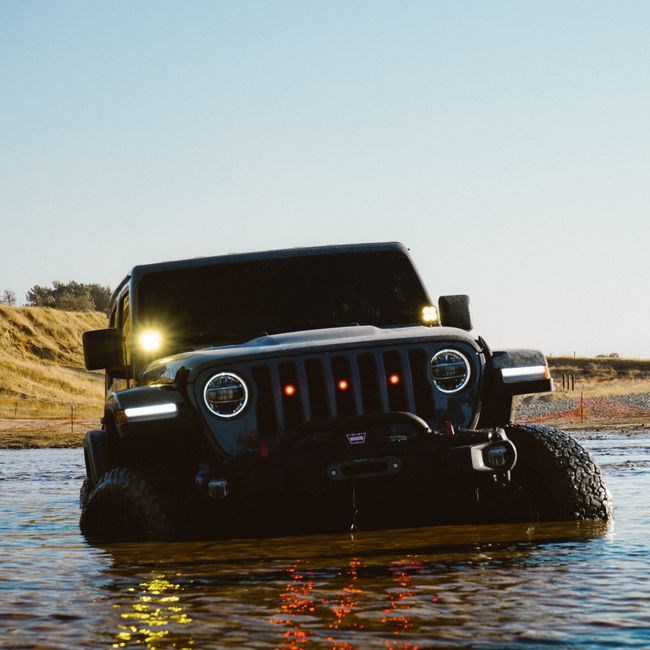
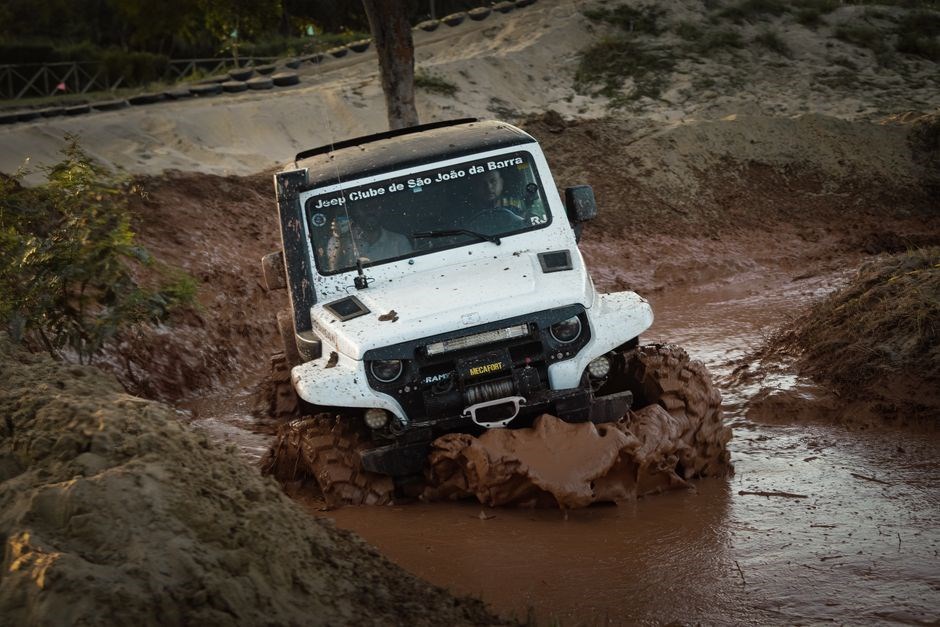
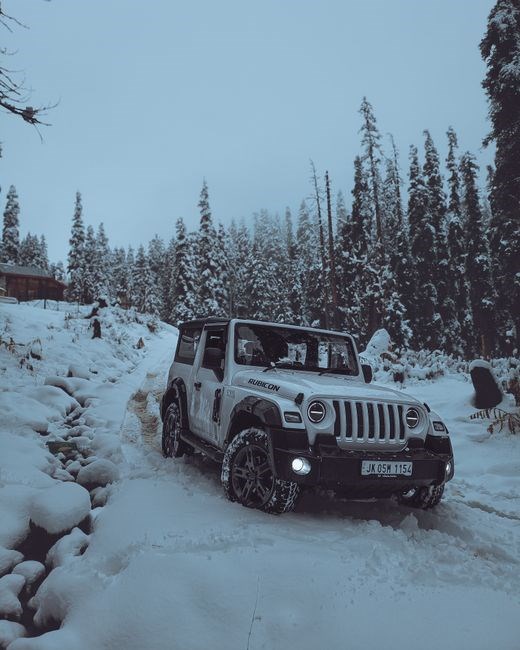
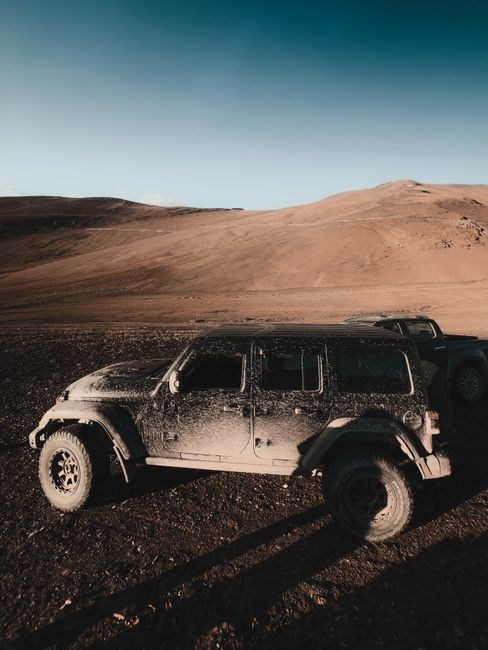
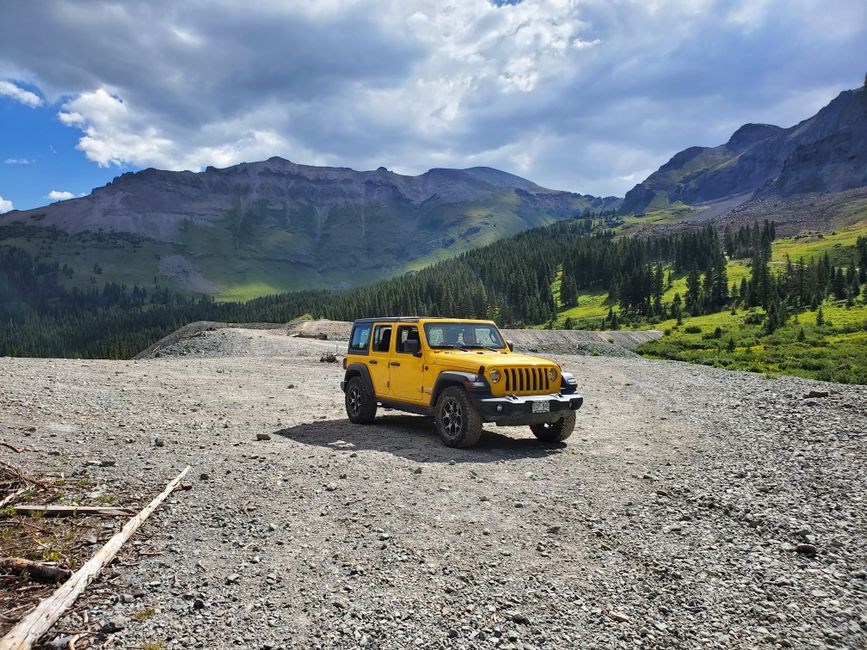
The Jeep Wrangler combines rugged off‑road capability with modern conveniences. Its compact 4‑wheel‑drive chassis‚ removable softtop‚ and versatile engine options deliver performance and versatility. The manual details layout‚ controls‚ and maintenance for optimal use to keep the Wrangler ready for any terrain. foradventure
Exterior Layout
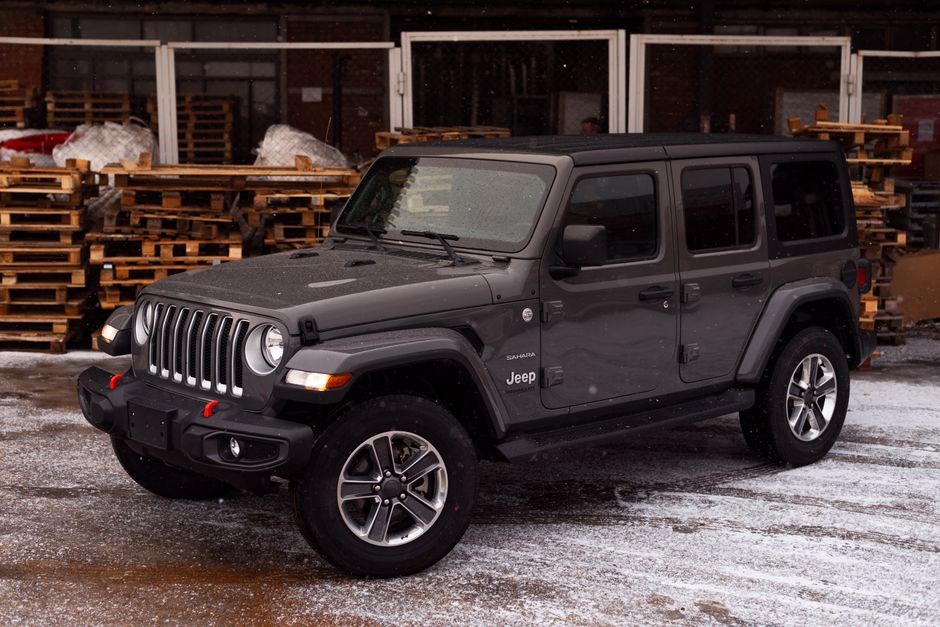
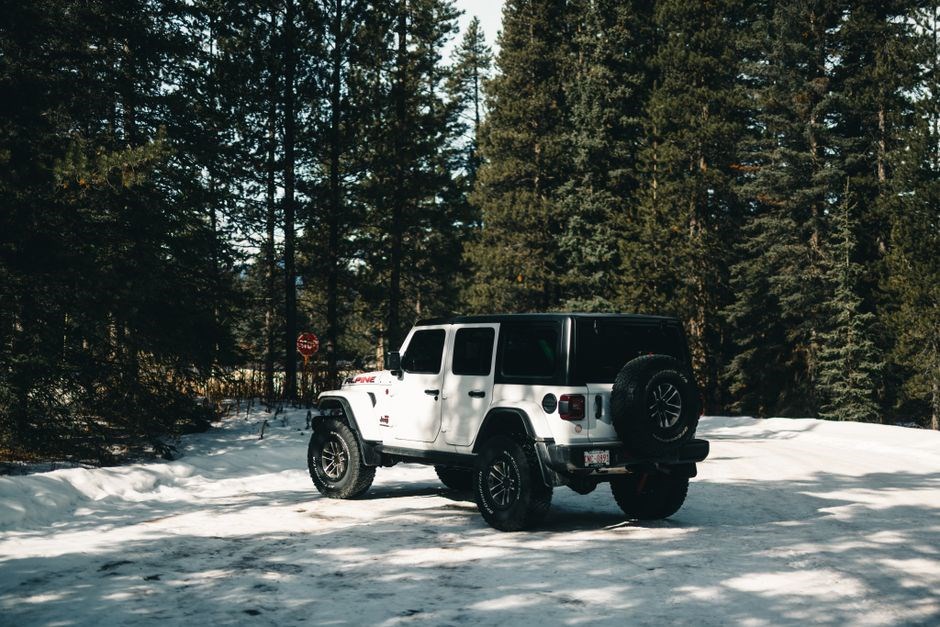
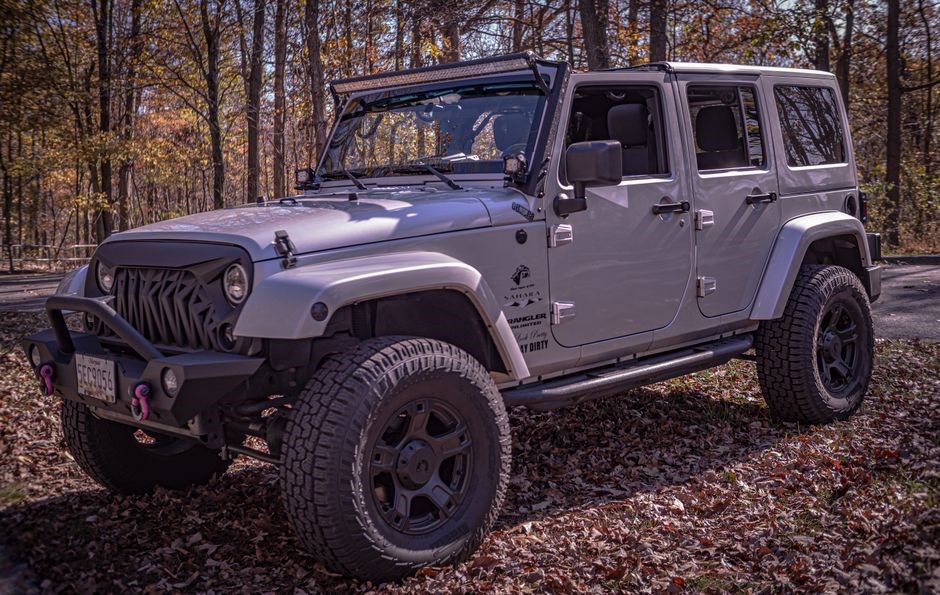
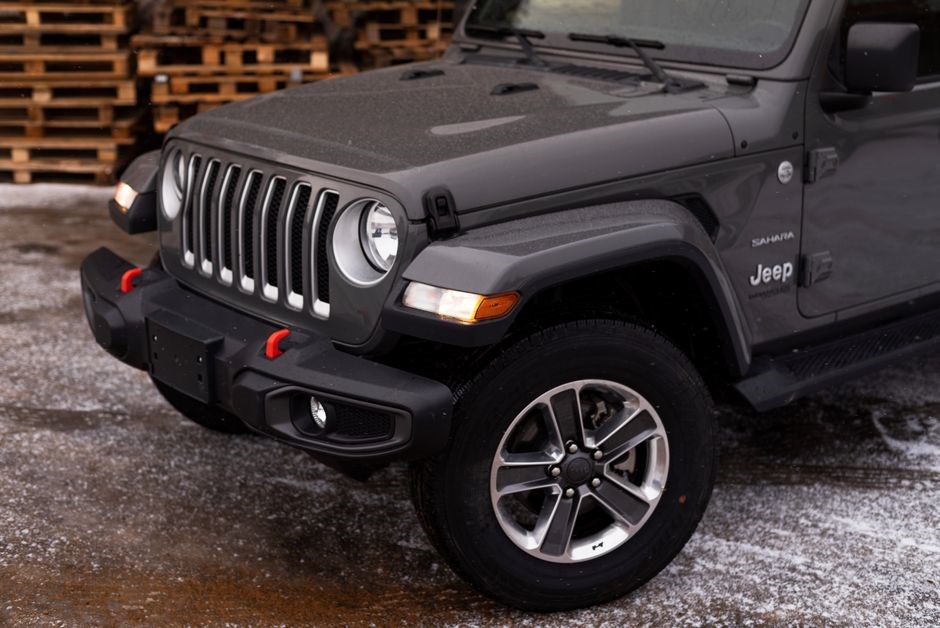
The Jeep Wrangler’s exterior layout is engineered for durability and versatility. Front‑end styling features a bold‚ rectangular grille‚ dual LED headlights‚ and a prominent hood scoop that channels airflow to the engine bay. The iconic round headlamps‚ flanked by chrome trim‚ provide a classic aesthetic while ensuring optimal visibility. The body panels are constructed from high‑strength aluminum and reinforced steel‚ offering protection against rock strikes and off‑road impacts. The roofline is low‑profile yet robust‚ with a removable softtop or a three‑piece hardtop that can be installed or removed in minutes. The side panels incorporate recessed door handles‚ a rear‑view camera mounting point‚ and a series of strategically placed storage compartments. The rear bumper is equipped with a skid plate and a tow hook for recovery operations. Wheel arches are designed to accommodate 17‑inch or 18‑inch alloy wheels‚ and the suspension system is tuned for both on‑road comfort and off‑road articulation. The overall silhouette is compact‚ with a wheelbase that balances maneuverability and stability. The rear cargo area is accessible via a fold‑down seat and a rear hatch that can be opened manually or electronically. The overall design emphasizes modularity‚ allowing owners to swap components such as the softtop‚ hardtop‚ or off‑road accessories with minimal effort. The exterior layout also integrates modern safety features‚ including a reinforced roll‑over cage‚ side‑impact bars‚ and a suite of airbags. The combination of rugged construction‚ functional design‚ and aesthetic appeal makes the Wrangler a versatile platform for adventure seekers and everyday drivers alike. Its design supports optional roof rails and winch for rugged roads.
Exterior Components
The Wrangler’s exterior components include a rugged aluminum grille‚ dual LED headlights‚ a removable softtop or hardtop‚ reinforced side panels‚ a sturdy rear bumper with a tow hook‚ and optional roof rails for gear. Each part is built for off‑road durability and style. Its design supports modular accessories for today.
Body Panels
The Jeep Wrangler’s body panels are engineered for maximum durability and off‑road resilience. The front and rear panels are constructed from high‑strength aluminum alloy‚ which offers a lightweight yet robust structure capable of withstanding impacts from rocks‚ debris‚ and uneven terrain. Each panel is stamped with a unique pattern that enhances structural rigidity while reducing weight. The panels are finished with a factory‑applied‚ high‑gloss protective coating that resists corrosion‚ UV degradation‚ and paint wear. This coating also allows for easy cleaning and maintenance‚ ensuring that the Wrangler’s aesthetic remains pristine even after extended off‑road excursions.
Front panels feature integrated side‑view mirrors that are designed to be removable for off‑road use‚ as well as a reinforced grille that protects the engine bay from debris. The rear panels incorporate a built‑in tow hook and a rear‑view camera mounting point‚ providing both functional utility and safety. The side panels are fitted with a series of cut‑outs that accommodate optional accessories such as roof racks‚ side steps‚ and skid plates. These cut‑outs are engineered to maintain the panel’s structural integrity while allowing for customization.
Each panel is secured with a combination of high‑strength fasteners and a proprietary locking system that prevents accidental loosening during high‑speed or rough‑terrain driving. The panels are also designed to be easily replaceable‚ allowing owners to swap damaged sections with minimal tools and no specialized equipment. Replacement panels are available in a range of colors and finishes that match the factory options‚ ensuring a seamless integration with the vehicle’s overall design.
Maintenance of the body panels involves regular inspection for dents‚ scratches‚ and paint integrity. Minor dents can be repaired using a body‑filler kit‚ while more significant damage may require panel replacement. The Wrangler’s body panels are also compatible with aftermarket protective films that provide an additional layer of impact resistance‚ especially in high‑traffic off‑road environments. By following the manufacturer’s recommended cleaning and inspection schedule‚ owners can preserve the structural and aesthetic qualities of the Wrangler’s body panels for years of adventure. Additionally‚ the panels accommodate aftermarket paint options‚ letting owners customize appearance while preserving structural integrity.
For extreme off‑road conditions‚ owners may opt for a reinforced panel kit that adds a secondary layer of impact protection. These kits are engineered to fit the original panel geometry and can be installed without altering the vehicle’s exterior dimensions. By investing in reinforced panels‚ drivers can extend the life of their Wrangler’s exterior while maintaining the iconic rugged look that defines the brand.
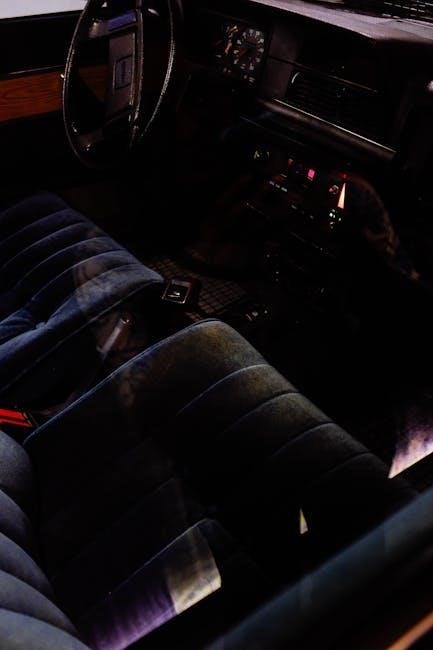
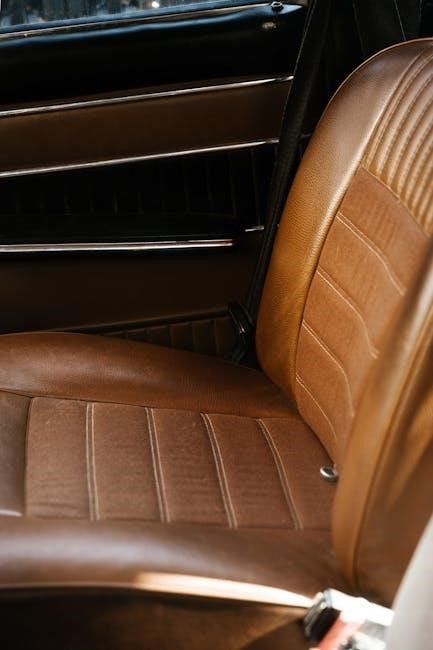
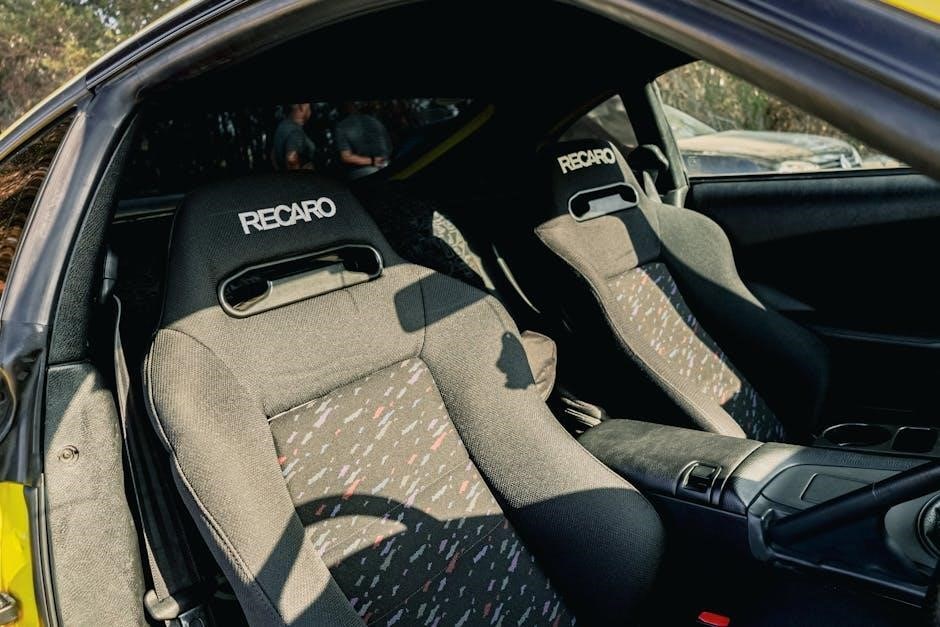
Interior Components
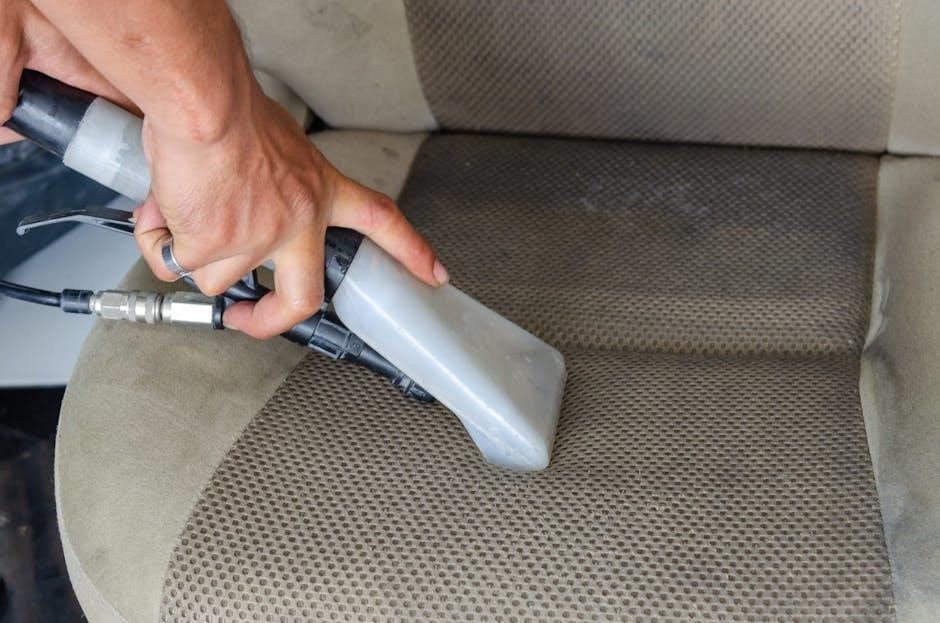
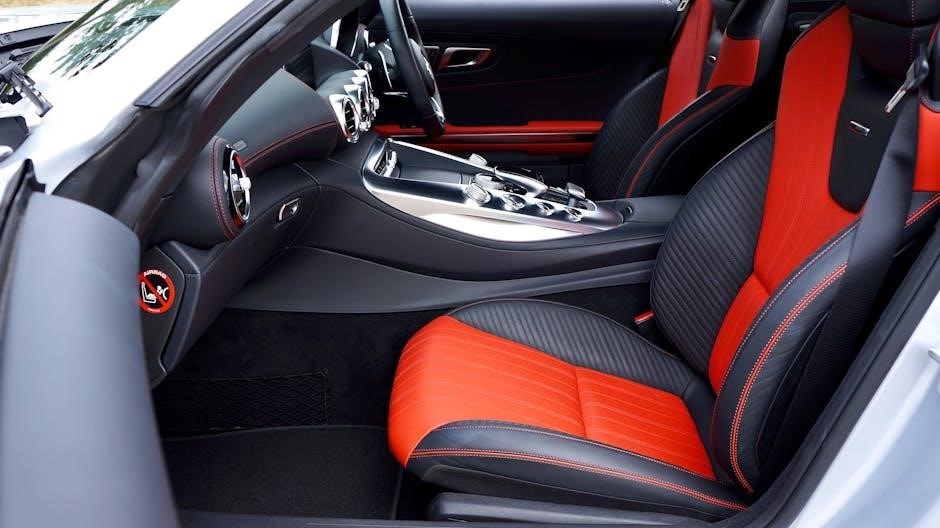
The Jeep Wrangler’s interior is rugged‚ featuring durable‚ weather‑resistant upholstery‚ a versatile dashboard and integrated infotainment with Bluetooth. Standard cloth seats are reinforced‚ and the cabin includes a removable floor mat system for easy cleanup after off‑road adventures. All featuresfriendly.
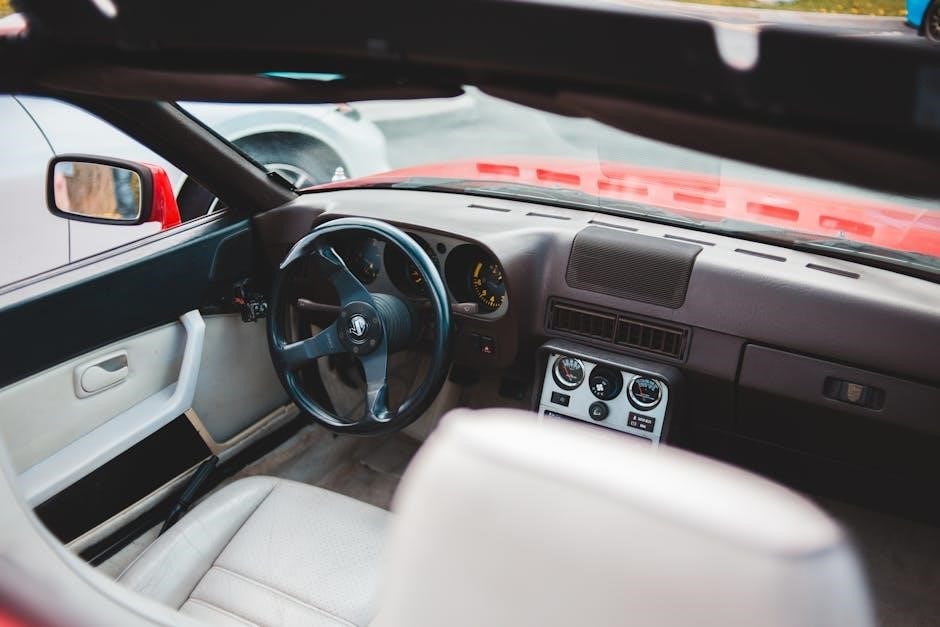
Dashboard Controls
On the Jeep Wrangler‚ the dashboard is designed for durability and ease of use in rugged environments; The instrument cluster features a clear‚ high‑contrast display that shows speed‚ engine RPM‚ fuel level‚ and trip information. A multifunction steering wheel allows drivers to access audio‚ cruise control‚ and climate settings without taking hands off the wheel. The infotainment system supports Bluetooth connectivity‚ USB input‚ and a touchscreen interface for navigation and media playback. Climate controls are located on the center console‚ offering independent temperature settings for front and rear passengers. A dedicated button provides quick access to the vehicle’s off‑road mode‚ adjusting suspension and traction settings. The steering wheel also houses a keyless entry button and a driver‑assist button that activates lane‑keeping assistance. All controls are positioned for ergonomic reach‚ with tactile feedback to ensure operation in low‑visibility conditions. The dashboard layout is modular‚ allowing optional upgrades such as a larger display or a premium audio system. Each control panel is sealed to protect against dust and moisture‚ ensuring long‑term reliability in off‑road conditions. The manual includes detailed diagrams and step‑by‑step instructions for setting up and customizing each control‚ as well as troubleshooting common issues such as display flicker or button unresponsiveness. By following the guidelines‚ owners can maintain optimal performance of the dashboard controls throughout the vehicle’s life cycle. Additionally‚ the manual offers a quick‑start guide that walks new owners through essential safety checks‚ such as tire pressure‚ fluid levels‚ and the operation of the 4‑wheel‑drive system‚ ensuring confidence before venturing into terrain.
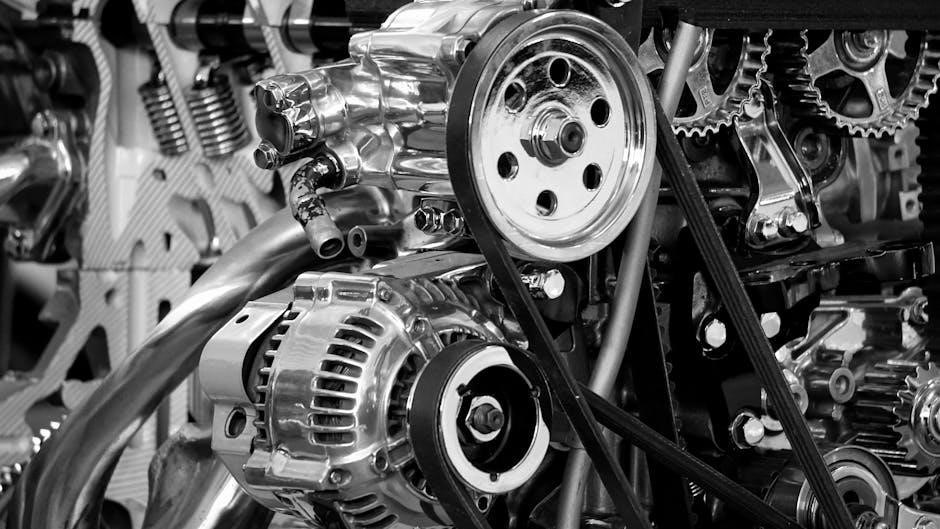
Powertrain and Transmission
The Wrangler’s powertrain features a 3.6‑L V6 or 2.0‑L turbo‑charged four‑engine paired with an 8‑speed automatic or 6‑speed manual. An 4‑wheel‑drive system with a Torsen limited‑slip center differential and a transfer case offers low‑range gear for off‑road torque. Oil changes and transfer case fluid checks keep the drivetrain running smoothly.
Engine Features
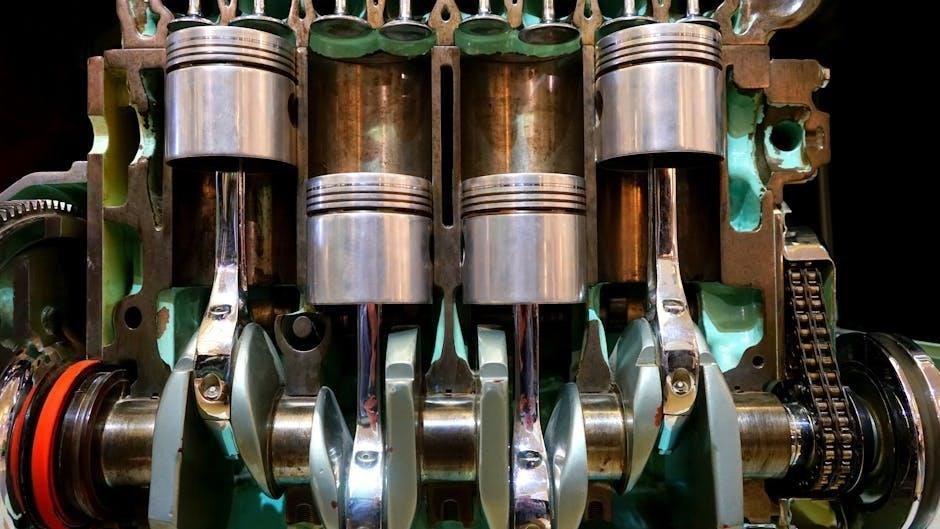
The 2026 Jeep Wrangler offers two power‑plant options: a 3.6‑L V6 a 2.0‑L turbo‑charged inline‑four. The V6 delivers 285 hp 260 lb‑ft of torque‚ while the turbo‑four produces 270 hp 295 lb‑ft‚ both paired with an 8‑speed automatic or a 6‑speed manual. Fuel injection is direct‑injection‚ the engines meet EPA Tier 4 emissions. Cooling is handled by a front‑mounted radiator with electric coolant pump‚ and a dual‑zone thermostat maintains optimal operating temperature. The V6 uses a 10‑bar turbocharger‚ while the 2.0‑L employs a single‑stage turbo and variable‑geometry turbine for low‑end torque. An integrated start‑stop system reduces idling consumption. The engines feature a 4‑bar valve lift camshaft and a 4‑stroke cycle‚ with a 90‑degree V‑angle for the V6 a 60‑degree angle for the inline‑four. The 3.6‑L uses a 9.0:1 compression ratio‚ whereas the 2.0‑L uses 11.0:1. Both engines are equipped with a 12‑volt battery an an 8‑speed transmission‚ with a Torsen limited‑slip center differential for 4‑wheel‑drive. The powertrain includes a transfer case with low‑range gear for off‑road torque. Maintenance intervals recommend oil change every 7‚500 miles or 12 months filter replacement spark plug inspection and coolant flush every 30‚000 miles. The manual also covers diagnostics for common engine codes such as P0300 P0171 and P0420 and explains how to reset the check‑engine light after repairs. Proper torque specifications for cylinder head bolts are 30 ft‑lb and the crankshaft bolts require 45 ft‑lb. The manual emphasizes the importance of using manufacturer‑approved oil coolant to preserve warranty coverage and ensure optimal performance. By following these guidelines owners can maintain engine reliability maximize the Wrangler’s off‑road capabilities.
Maintenance Schedule
Follow the Wrangler’s 7‚500‑mile oil change‚ 30‚000‑mile coolant flush‚ and 60‚000‑mile filter swap. Inspect brakes‚ tires‚ and fluid levels every 3‚000 miles. Replace spark plugs at 100‚000 miles. Keep the battery clean‚ check belts quarterly‚ and update software annually. Check air filter and transmission fluid year.
Routine Tasks
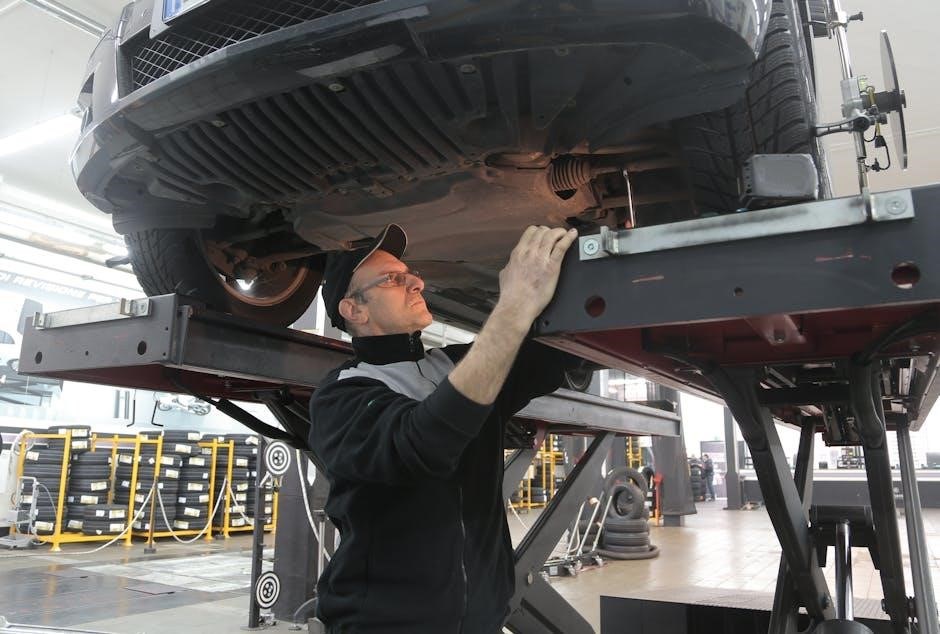
Regular maintenance keeps a Jeep Wrangler reliable on every trail. Follow these routine tasks to protect the engine‚ drivetrain‚ and safety systems. Check the oil level and quality every 1‚000 miles or after long off‑road excursions; change oil and filter if dark or gritty. Inspect coolant and radiator for leaks and top off antifreeze at the 3‚000‑mile mark. Keep transmission fluid clean and at the proper level; replace it every 60‚000 miles. Test brake fluid for moisture and contamination; flush and refill at 30‚000 miles. Rotate tires every 6‚000 miles to promote even wear; inspect tread depth and sidewall for damage. Replace wiper blades when streaking occurs or blades become brittle. Inspect battery terminals for corrosion‚ tighten connections‚ and clean the battery case if needed. Check the air filter and replace it every 15‚000 miles or sooner in dusty conditions. Verify all lights‚ turn signals‚ and hazard indicators function; replace bulbs as needed. Inspect suspension components‚ including shocks and struts‚ for leaks or wear; replace damaged parts. Test the power‑train linkage and steering for smooth operation; adjust if there is excessive play. Monitor tire pressure with a calibrated gauge and maintain the recommended PSI for the current load. Keep the undercarriage free of debris‚ especially after traversing gravel or mud. Finally‚ review the vehicle’s service log and schedule any manufacturer‑recommended inspections‚ such as the 12‑month engine oil filter replacement or the 24‑month battery replacement. By adhering to these routine tasks‚ you’ll reduce the risk of breakdowns and extend the life of your Wrangler. Also‚ check the battery’s cold‑cranking amps every 18‚000 miles and replace if below specifications. Inspect the suspension bushings for wear and replace them as needed. Keep the fuel filter clean by changing it every 30‚000 miles to prevent clogging. Check the spare key. Keep it dry.