Art resin is a popular, versatile medium offering clarity and durability․ It’s widely used in jewelry-making, home decor, and mixed media art, enhancing creative projects with a professional finish․
What is Art Resin?
Art resin is a two-part mixture of resin and hardener, creating a durable, glossy finish when cured․ It’s a versatile medium for crafts, jewelry, and home decor, offering clarity and strength․ Unlike traditional varnishes, art resin cures fully, making it heat- and scratch-resistant․ It’s ideal for preserving artwork, adding texture, or creating intricate designs․ Artists often use it to coat acrylic paintings, embed objects, or craft custom pieces․ Its smooth, professional finish has made it a favorite for both beginners and experienced creators seeking long-lasting, high-quality results in their projects․
Common Uses of Art Resin in Creative Projects
Art resin is a versatile medium used in various creative projects, from jewelry-making to home decor․ It’s often applied as a protective coating for acrylic paintings, ensuring durability and a glossy finish․ Artists also use resin to embed objects like flowers, beads, or glitter, creating textured, dimensional designs․ Mixed media art benefits from resin’s ability to layer and preserve materials․ Additionally, it’s popular for crafting custom coasters, tabletops, and decorative items․ Resin’s clarity and strength make it ideal for creating intricate, professional-looking pieces that stand the test of time, making it a go-to choice for both functional and artistic endeavors․
Materials and Tools Needed
A resin kit, including resin and hardener, measuring cups, stir sticks, and a heat gun, are essential․ Gloves, goggles, and a covered workspace are recommended for safety and efficiency․
Essential Components of an Art Resin Kit
An art resin kit typically includes resin and hardener, measuring cups, stir sticks, and a mixing tool․ Additional items like a heat gun, gloves, and goggles are often recommended․ Ensure the kit includes instructions for proper mixing ratios and curing times․ Some kits may also provide surface preparation tools or molds for specific projects․ Always check the kit’s contents to confirm it meets your project needs․ High-quality resin kits are crucial for achieving professional results and ensuring safety during the creative process․
Tools for Mixing and Applying Resin
Essential tools for mixing and applying resin include measuring cups, stir sticks, and a mixing container․ A heat gun or torch helps remove air bubbles, while gloves and goggles ensure safety․ Pouring tools like pipettes or syringes are useful for detailed work․ Spatulas or brushes can be used for spreading resin evenly․ A well-ventilated workspace and protective coverings like drop cloths are also recommended․ Optional tools include molds for shaping resin and UV lamps for curing․ Having the right tools ensures precise application, minimizes waste, and enhances the overall quality of your resin project․ Proper equipment is key to achieving professional results․
Preparation and Safety
Ensure a well-ventilated workspace, wear protective gloves, goggles, and a mask․ Prepare surfaces with drop cloths or protective coverings to prevent damage from spills or drips․
Preparing Your Workspace for Resin Application
Begin by ensuring your workspace is clean, dry, and free from dust․ Cover your work surface with a drop cloth, plastic sheet, or disposable paper to protect it from spills․ Wear protective gloves, goggles, and a mask to avoid skin contact and inhaling fumes․ Opt for a well-ventilated area, preferably near an open window or under a fan, to minimize fume exposure․ Maintain a consistent temperature between 70-75°F for optimal resin performance․ Organize your tools and materials within easy reach to streamline the process․ Use disposable cups or mixing sticks for resin and hardener to prevent cross-contamination․ Always refer to the manufacturer’s instructions for specific preparation guidelines․
Safety Precautions When Working with Resin
Always work in a well-ventilated area to avoid inhaling resin fumes․ Wear protective gloves, goggles, and a mask to prevent skin contact and respiratory issues․ Avoid touching your face or eyes while handling resin․ If skin contact occurs, wash immediately with soap and water․ Use a thermometer to monitor workspace temperature, as extreme heat or cold can affect resin curing․ Keep resin away from children and pets․ For UV resin, work in the shade initially and move to sunlight for curing․ Never mix resin near open flames or sparks․ Dispose of leftover resin and materials responsibly, following local regulations․
Application Techniques
Mastering resin application involves precise pouring, layering, and spreading techniques․ Use tools like brushes or squeegees to achieve desired textures and ensure even coverage for a polished finish․

Step-by-Step Guide to Mixing Resin
Start by preparing a clean, well-ventilated workspace․ Measure the resin and hardener accurately, following the manufacturer’s ratio․ Mix thoroughly for 2-3 minutes until fully combined․ Scrape the sides and bottom of the mixing cup to ensure no unmixed resin remains․ Avoid whipping too vigorously, as this can introduce air bubbles․ Check the mix for a smooth, even consistency․ If using pigments or inclusions, stir gently to prevent creating bubbles․ Pour immediately into your mold or onto your artwork․ Work quickly, as the resin will begin to cure once mixed․ Always wear gloves and safety goggles for protection․
Applying Resin to Your Artwork
Ensure your surface is clean, dry, and free of dust or oils․ Pour the mixed resin onto your artwork or into a mold, spreading it evenly with a brush, spreader, or squeegee․ Work quickly, as resin begins to cure once mixed․ For smooth coverage, use a torch or heat gun to gently pop air bubbles․ Avoid overworking, as this can create imperfections․ If using UV resin, cure in shade first to prevent bubbles, then move to direct sunlight․ Allow the resin to cure undisturbed for the recommended time․ Lightly sand any uneven areas after curing for a polished finish․ Always clean tools with isopropyl alcohol to prevent residue buildup․
Finishing Touches
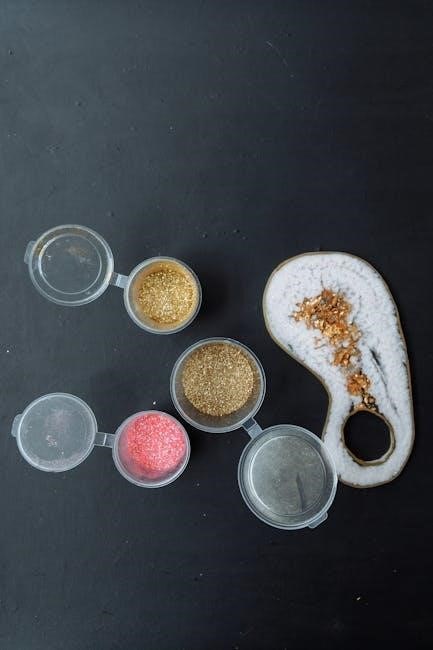
- Add inclusions like glitter, powders, or pigments for unique effects․
- Allow resin to cure fully, following recommended drying times․
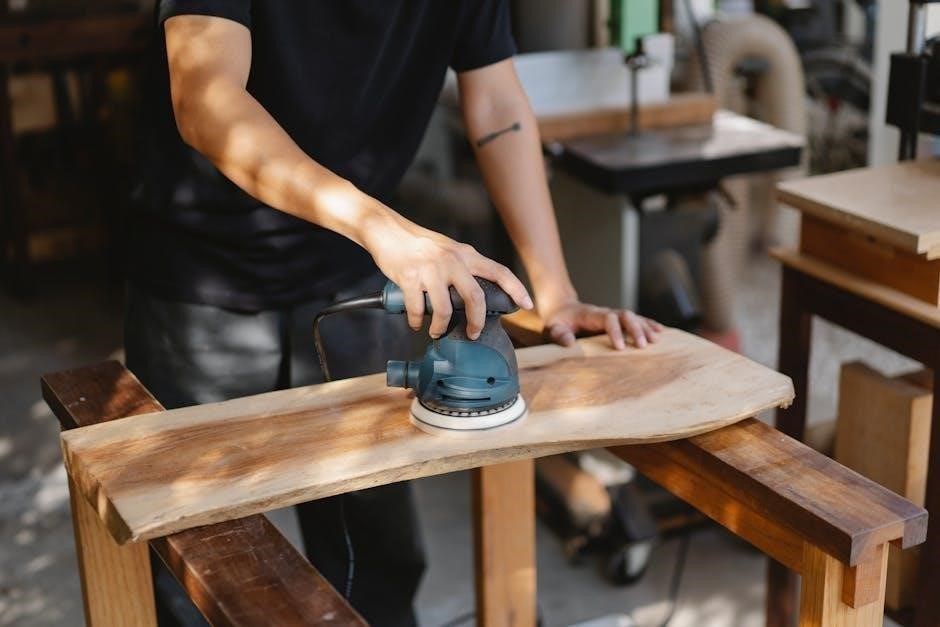
- Lightly sand surfaces for a smooth, polished finish․
Adding Inclusions and Embellishments
Enhance your resin art by incorporating creative inclusions and embellishments․ Materials like glitter, pigments, glass microspheres, or natural elements (e․g․, flowers, leaves) can add texture and visual interest․ Mix inclusions during the resin mixing process for uniform distribution or sprinkle them onto the surface after pouring․ For intricate designs, use a toothpick or small tool to place elements precisely․ Experiment with metallic powders or mica for a shimmering effect․ Avoid overloading the resin, as this can compromise its clarity․ Ensure all additions are dry and free of dust to prevent cloudiness․ This step allows for endless creativity, making your artwork truly unique․
Final Curing and Drying Process
The final curing and drying process is crucial for achieving a durable, professional finish․ Most art resins require 24 hours to fully cure, though they may be touchable within 6-8 hours․ Ensure the piece is in a dry, dust-free environment at room temperature․ Avoid direct sunlight during curing to prevent uneven hardening․ For UV resin, expose it to sunlight or a UV torch after pouring, but start in the shade to avoid bubbles․ Keep the workspace clean to prevent dust from settling on the surface․ Lightly cover the piece if necessary․ Patience is key—proper curing ensures a strong, long-lasting finish․
Troubleshooting Common Issues
Troubleshoot common issues like bubbles, uneven surfaces, or incomplete curing․ Use a torch to pop bubbles, sand uneven areas, and ensure proper mixing and temperature for curing․
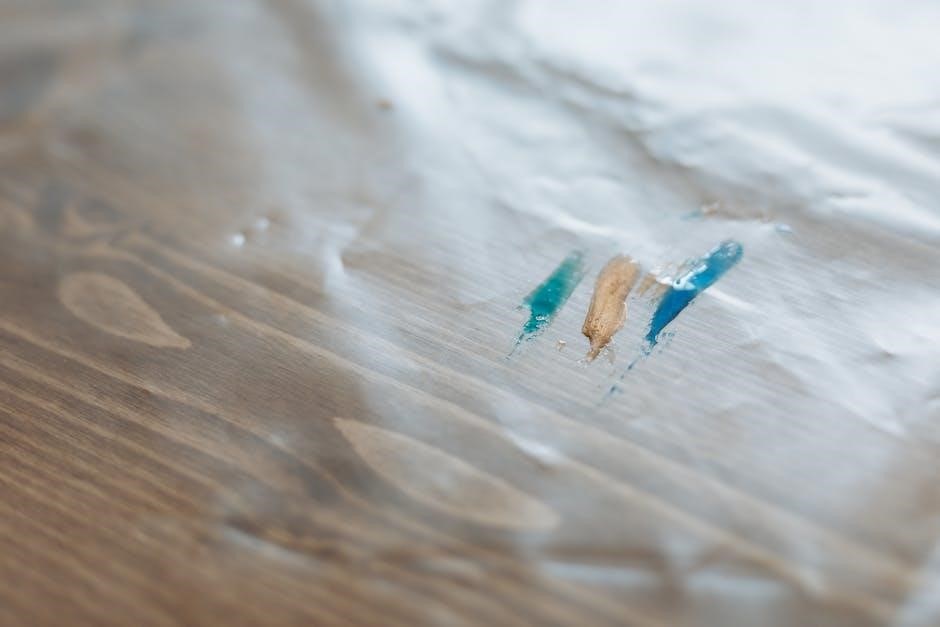
Fixing Imperfections in Resin Art
When working with art resin, imperfections like bubbles or uneven surfaces can occur․ To fix bubbles, use a torch or needle to carefully pop them before the resin cures․ For uneven areas, lightly sand the surface once cured and apply a fresh coat of resin․ If the resin doesn’t cure properly, check the mixing ratio and ensure the workspace is at the recommended temperature․ Small cracks or scratches can be filled with a small batch of resin․ Always work in a well-ventilated area and follow safety guidelines to achieve professional-looking results․ Proper preparation and patience are key to fixing resin art imperfections effectively․
Mastering art resin techniques opens up endless creative possibilities․ For more guidance, explore tutorials on YouTube and visit Dick Blick for quality materials and inspiration․
Final Tips for Successful Resin Art Projects
Always follow the mixing instructions precisely to ensure proper curing․ Work in a well-ventilated area and wear protective gloves and eyewear․ Prepare your workspace with a non-stick surface like parchment paper or a silicone mat to prevent sticking․ Use a torch or heat gun to remove air bubbles for a smooth finish․ Avoid over-mixing, as it can create excessive heat and lead to imperfections․ For UV resin, cure in direct sunlight or under a UV light․ Experiment with colors and inclusions to add unique touches․ Practice on small projects before tackling larger ones to build confidence and skill․
Recommended Resources for Learning More
For in-depth learning, explore tutorials on YouTube, such as channels dedicated to epoxy resin art․ Websites like Dick Blick offer high-quality art resin products and guides․ Online forums and communities, like resin art groups on Facebook, provide valuable tips and inspiration․ Check out Etsy blogs for unique project ideas and troubleshooting advice․ Additionally, consider enrolling in online courses or workshops that focus on resin techniques․ These resources will help you master resin art and stay updated on the latest trends and methods for creating stunning, professional-quality pieces․